
How to Build Your Own Thermometer

Spending more time indoors during the winter months, like us? Here's a fun science experiment to try at home!
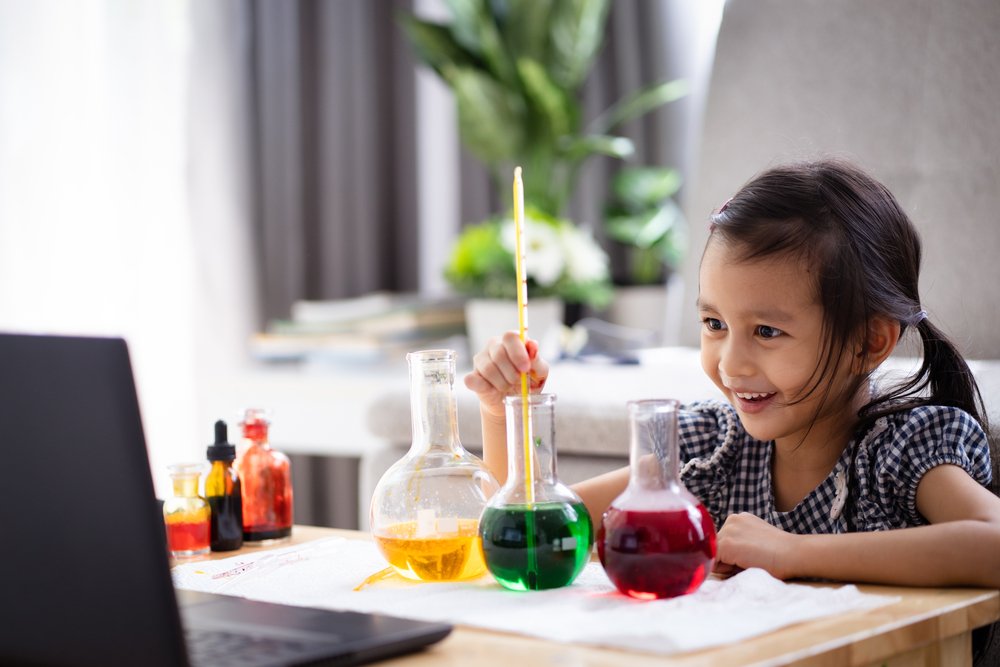
Before you start, here is a list of the things you need:
A water bottle or jar - glass or plastic, whatever you have available at home
Rubbing alcohol - can be purchased at your local pharmacy
Food coloring - can be found on the baking shelf at your local supermarket
Tap water
A measuring cup
A funnel
A transparent straw - plastic or glass, whatever you have available at home
Modeling clay - can be found at arts and crafts stores
Let’s start with measuring half a cup of water and half a cup of rubbing alcohol and mixing them together in the bottle or jar. Then add a few drops of food coloring so that later you can easily see the solution reacting to the different temperature changes. The reason you use food coloring is to replicate the look of mercury used in traditional thermometers.
Now you need to put a straw inside the bottle without touching the bottom. Then wrap it very tightly at the top of the bottle by using the modeling clay. It’s important to place the straw without it touching the bottom. Why? The alcohol-water solution needs a little space to be able to travel through and if the straw touches the bottom directly, your thermometer won’t work. The straw should be transparent so you can see the liquid inside. The clay over the opening in the bottle should be very tight, as you don’t want air to be entering the solution. Also, make sure the straw isn’t pinched or covered on top as you wrap clay around it, or else your thermometer won’t work.
Label the level of the water at room temperature. Check out the liquid level inside the straw and use a permanent marker to draw a line on the bottle. Take a reading from a mercury thermometer to find the actual temperature of the room. Write it down next to the line on the bottle.
Experiment 1
Carefully place the bottle in a container large enough to hold your thermometer that's full of hot water. Notice how the solution reacts to it and label the level it reaches when it stops moving. What's going on? The heat causes the air in the bottle to expand. As the bottle is airtight, the air can only expand through the straw, and the water level travels up through it as it expands. Caution: If the water is way too hot, be careful, as the water may come out of the top of the straw.
Experiment 2
Put cold water in the same container and watch how the water level in the straw goes down the longer it’s in the cold water. Once the level has settled, label it on the bottle. Why does it happen? When it's cold, the air contracts, which makes the water level drop inside the straw.
If you would love to SEE how this works, we recommend you check out this video: https://www.youtube.com/watch?v=qwHvXSJlp-s